The Fight for Masterbianco 1943
13th February 2025, 0 Comments
The Second World War, Rapid Fire Reloaded, 10mm
We were off to Sicily this week, trying out a scenario devised by Kevin Calder in the latest Wargamers’ Annual. It wasn’t the usual fare – deployment was pretty random, to reflect scattered units, and instead of morale worked out at battalion level, as usual, we did it at company level – with predictably bloody results! Also, Kevin’s scenario was set in Normandy, for 20mm figures, and we did Sicily, 10mm, and changed the sides around, using German paras… We started with deployment. In the map above, the four road edges were random entry points. Each turn, when the appropriate playing card appeared, a company-sized unit of either side made its appearance on a road edge. However, the first three British units appeared on a numbered location, starting with the Bttn. HQ, and entry point D in the north was used for them instead of Point A in the west.
  The objectives were fairly simple – both sides had to take and hold the crossroads, and the British HQ, the villa in the background. Also, the British Corps commander was in the area, and a plan had been sent to the HQ to extract him, in the face of the German counter-attack, and so the fallschirmjager battalion arriving on the table were charged with capturing him too. So, there was a lot to do, but scattered units to do it with.
 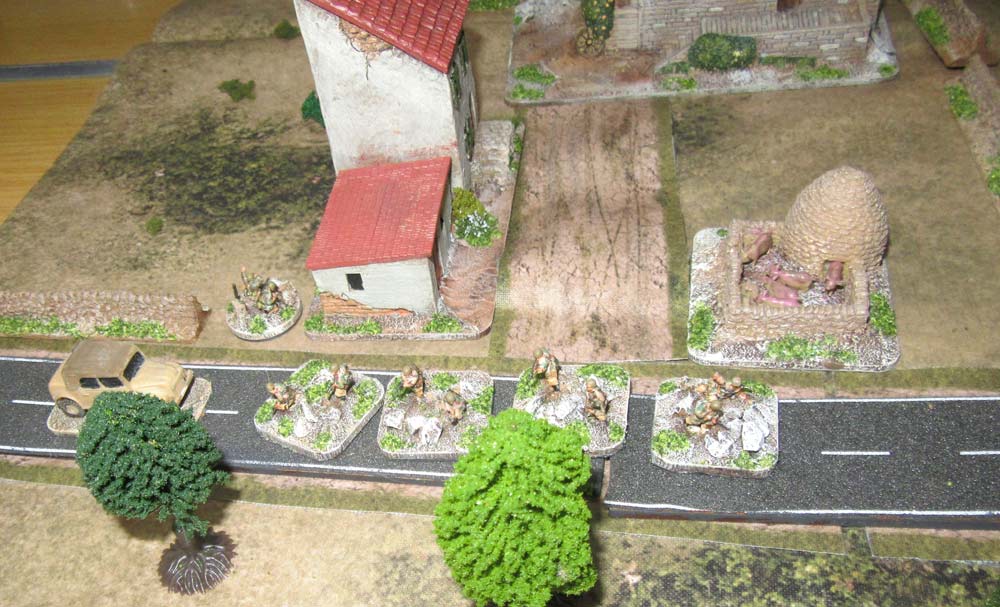 In the end, one fallschirmjager company arrived on the eastern road, two on the western one and the heavy weapons company from the south road. the bulk of the British arrived from the north, apart from two companies, which turned up in trucks on the southern road. So, from the start both Sean (playing the Germans) and Nick (the British commander) were pitched into a fight in the town of Masterbianco.
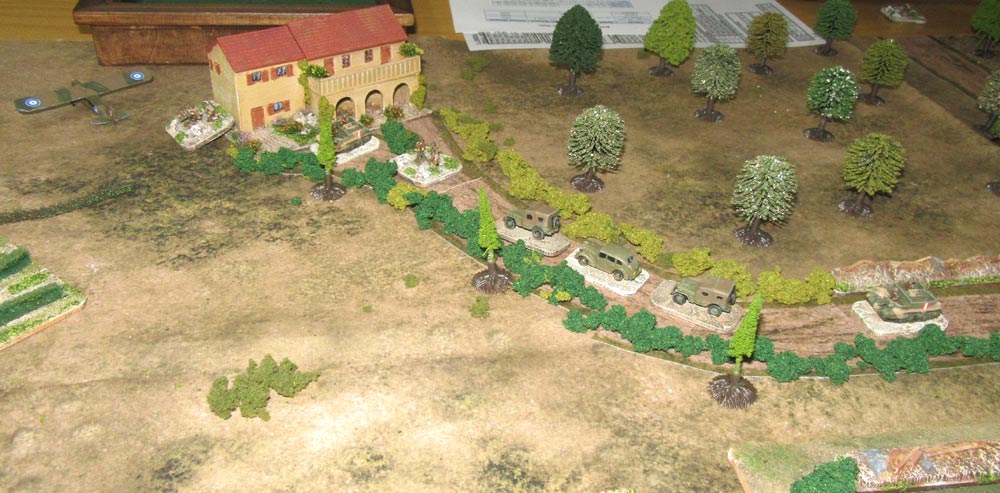 As for General, he had a surprisingly easy time of it. He randomly came on along the northern road, together with an escort of the Bttn. commander in his scout car, a carrier platoon and a troop of Daimler armoured cars. He had his own escort too – four figures in two jeeps. this cavalcade roared up to the villa, and leaving his escort behind the general jumped into the waiting Auster and was whisked away to safety.
 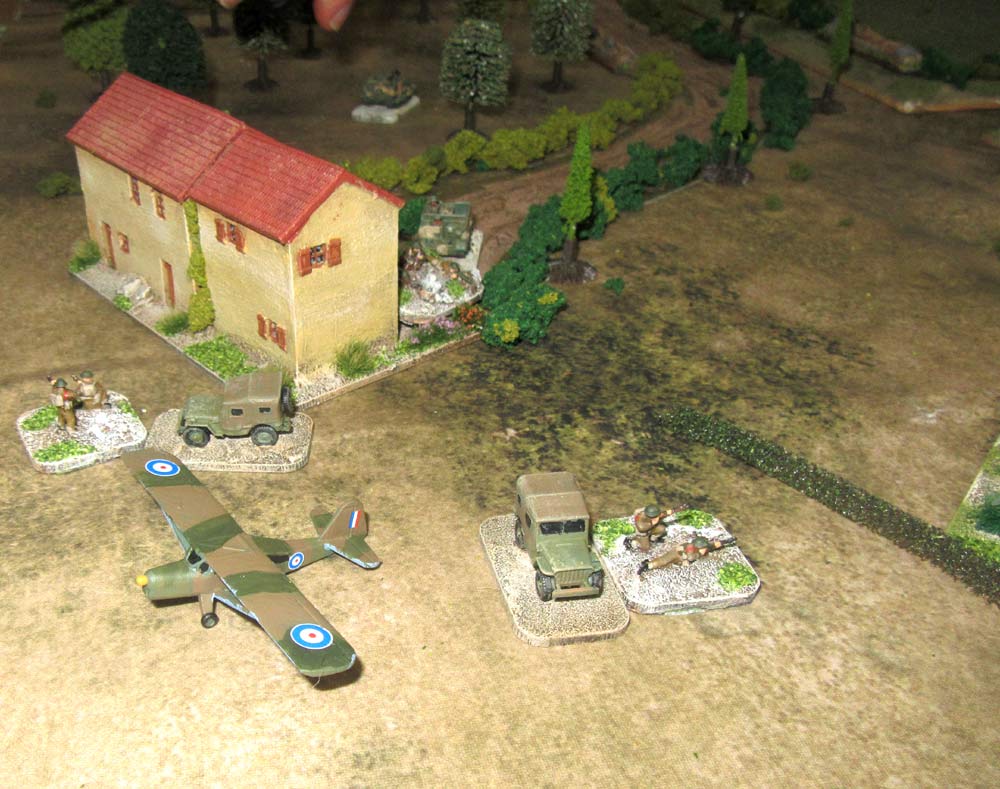 Once he was safety away, the Bttn. commander, Lt. Col. Timothy-Taylor led a drive on Masterbianco along the axis of the northern road. This, and fire from a British company in the village saw to one of the fallschirmjager companies, while the second German company took cover in an ruined building. In fact, the town became the place to be, as just about every figure on the table was heading there, and joining in the bitter fight for real estate.
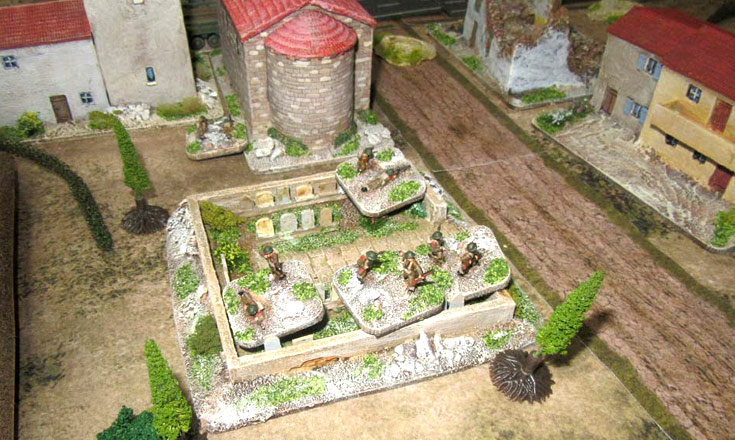
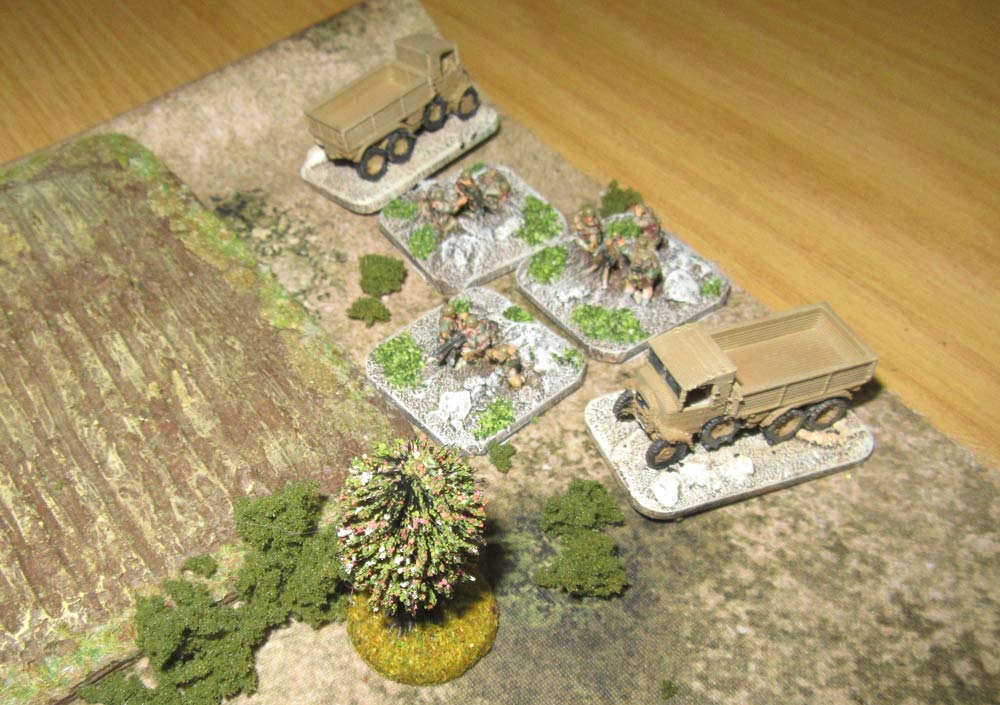 To the south of Masterbianco, the fallschirmjager heavy weapons company was busily engaging the British defenders there, and in the nearby cemetery, with real Teutonic efficiency. One whole British company was forced to break, while the other was badly shot up, and so withdrew to the northern side of the crossroads. the exception was the church, where one lone British platoon-sized stand was holding out.
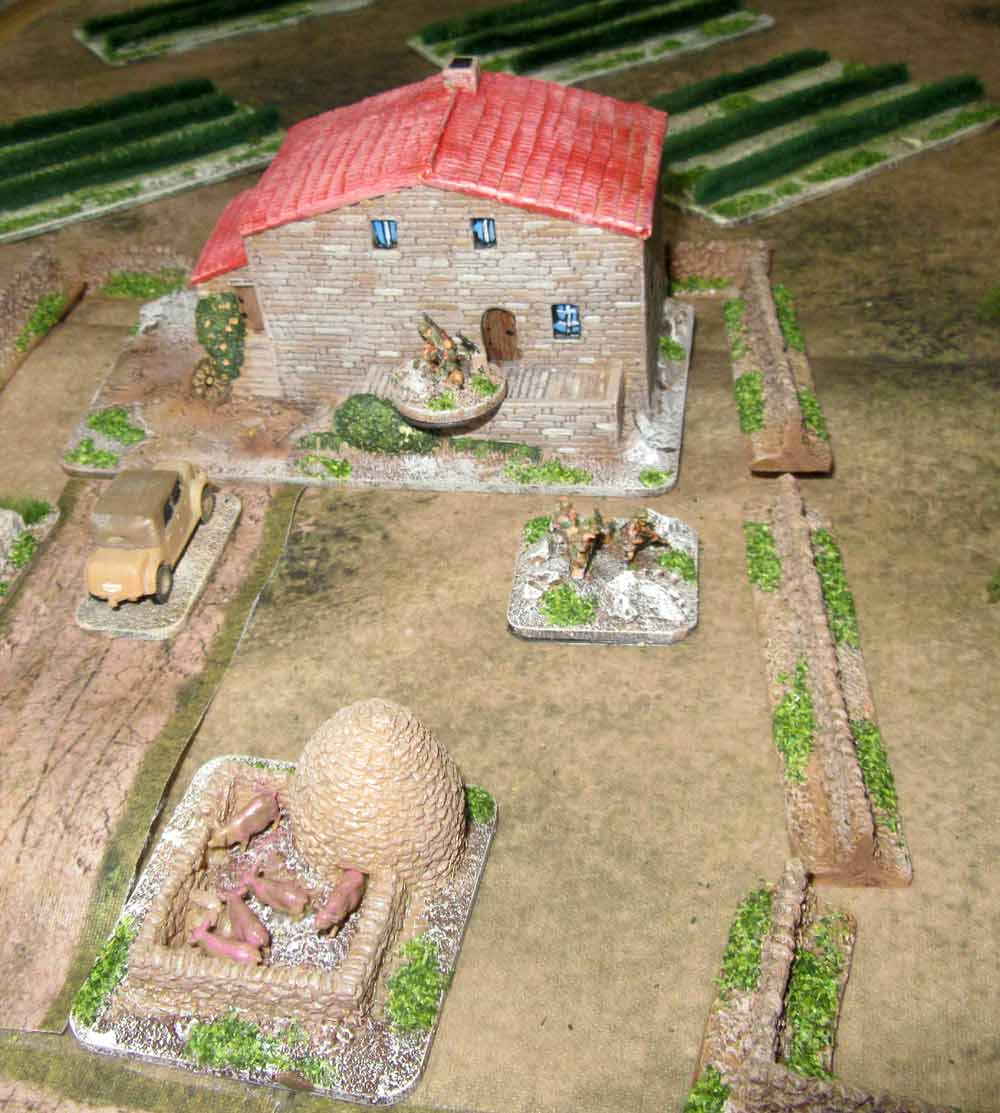
 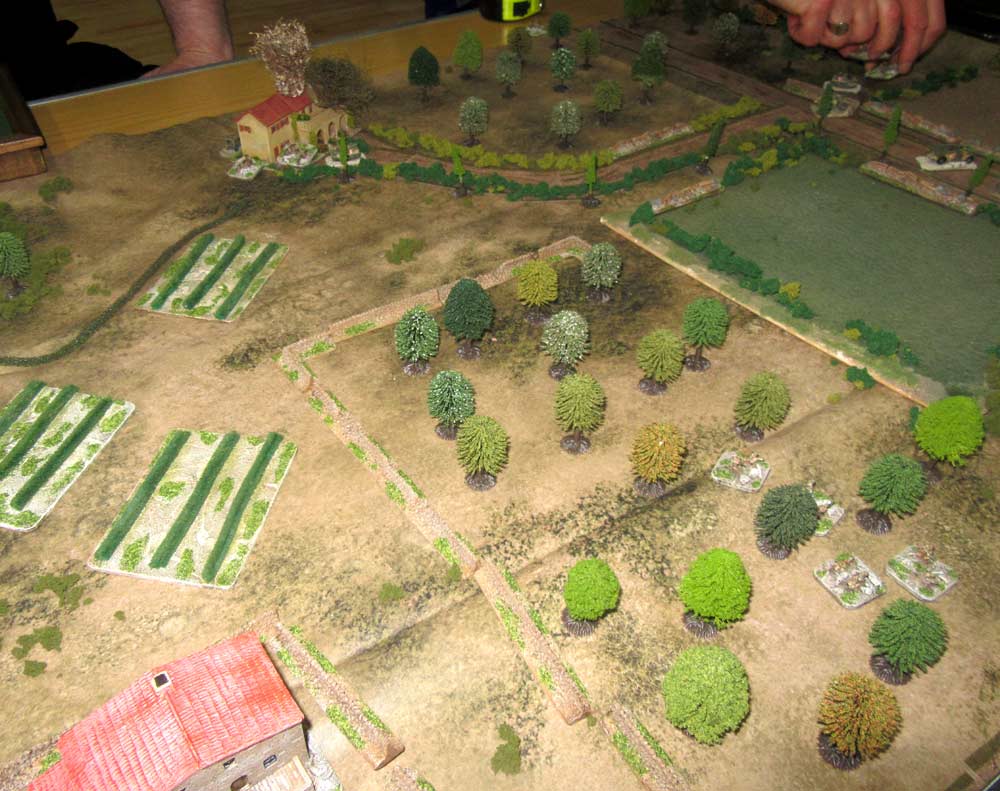 By then, over in the farm to the west, the German observation post had been set up. This wasn’t in Kevin’s scenario, but I added it to even the odds a bit. His link to a mortar battery proved effective, first pummeling the villa, where the departed general’s escort were holed up, and then, once they were disposed of, taking out that stand in the Misterbianco church. That’s the rounds hitting the villa in the picture above, with the farm in the bottom corner.
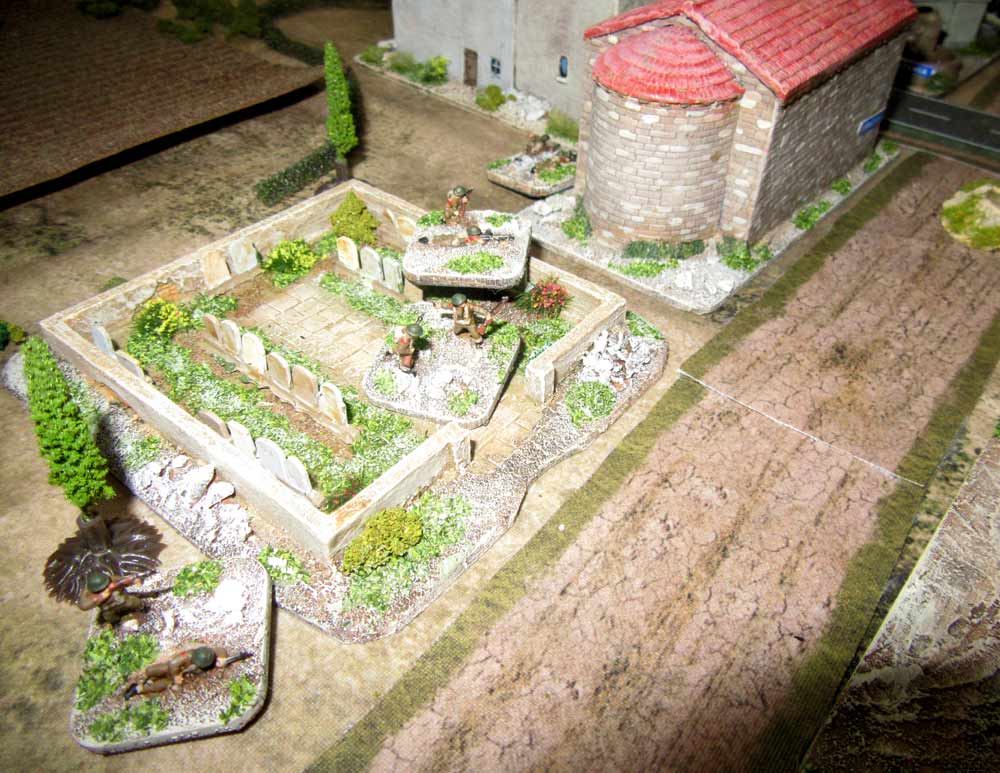 Back in the town, the Germans had control of everything south of the crossroads, and had troops in the ruined building at its north-east corner. That left the British holding the Tavera Vittoria in the north-west side of the crossroads. Help though, was on its way, with the armoured car troop, the carrier platoon and the battalion HQ company advancing down the road from the north, shrugging off fire from the buildings and fields to the east as they went.
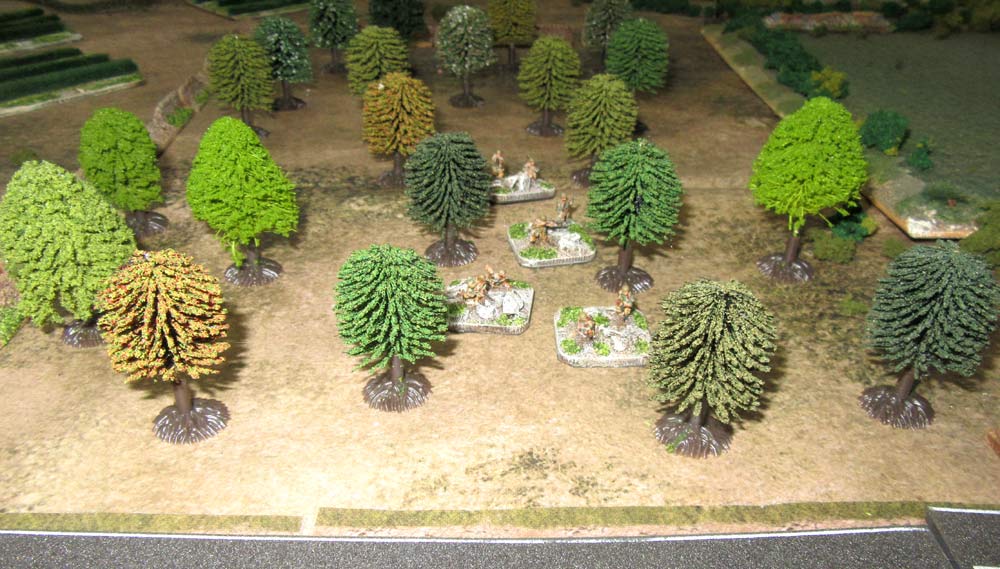 A panzerfaust damaged the Daimler armoured car, but the next turn the surviving fallschirmjager stand north of the road was killed off by concentrated fire from everything the British could throw into the fight. Still, the last un-engaged fallschirmjager company then appeared to the west, having advanced through an olive grove to take up position facing the British-held road across a field. That marked the start of another short, sharp and brutal firefight.
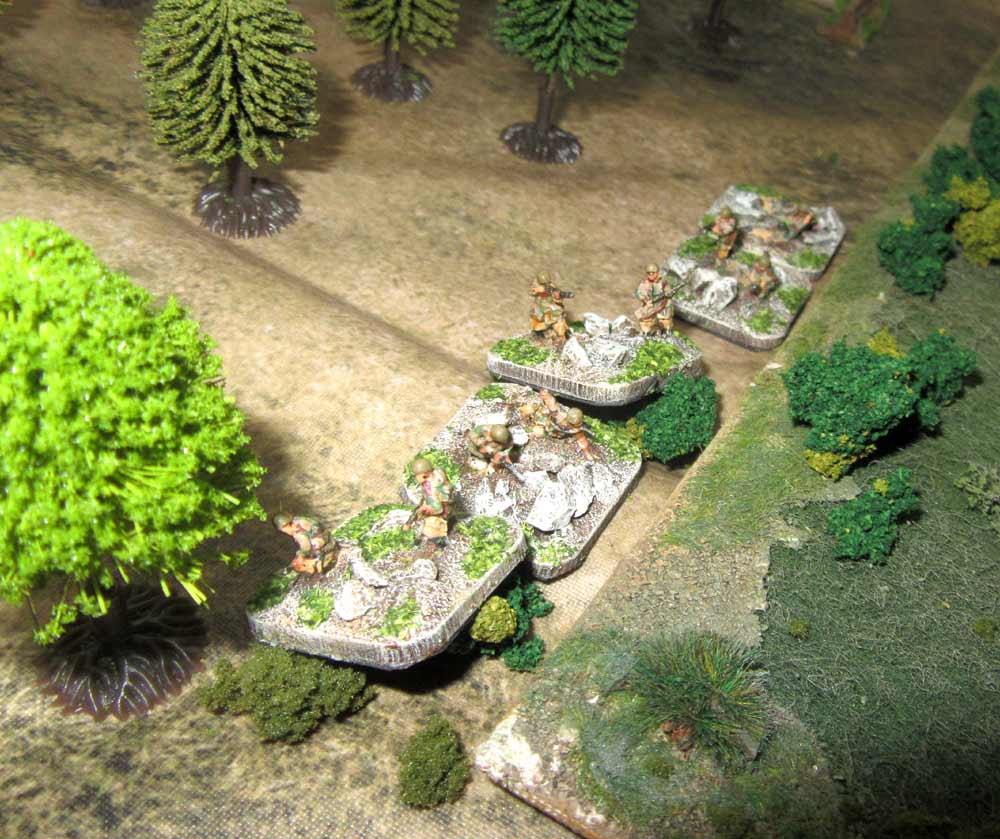 Both sides suffered, but in the end the weight of British firepower paid off – with 2″ and 3″ mortars firing, backed by the armoured car troop and carrier platoon, and a Vickers MMG. In the end the fallschirmjagers were wiped out. However, their artillery spotter had targeted the Taverna, and was busily plastering it with mortar rounds. These killed off the last remaining British infantry stand in the town, and the British Bttn. commander.
 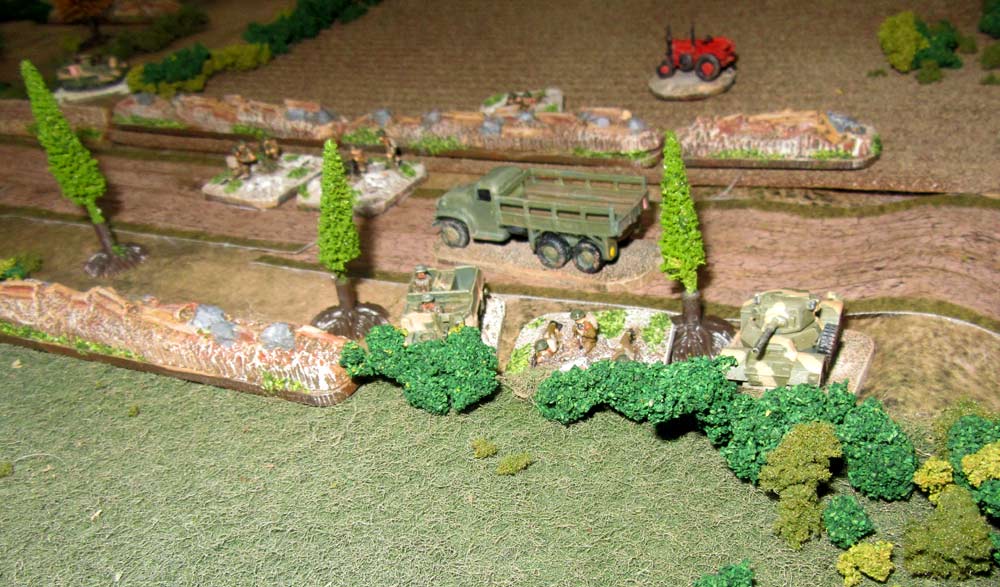 We ended the game there. The Germans held the town, so they got the victory point for that. The British got one for saving the General, and another for defending the Bttn. HQ. So, on points, the umpire (me) deemed the game a hard-won British victory. It was fun, and it was certainly bloody, but next time we’ll use the more conventional battalion-sized morale rules. That was the one bit of Kevin’s scenario which didn’t really work like I’d hoped.