
Attack on Hedgehog Wood, Abbeville 1940
6th March 2025, 2 Comments
The Second World War, Chain of Command, 28mm
With just Nick and I available this time, we decided to play a CoC game, set in 1940. that seemed the perfect excuse to stary a new ‘pint-sized campaign. I opted for Attack on Caesar’s Camp, which follows the fortunes of the 51st (Highland) Division of the British expeditionary Force (BEF), which launched a counter-attack against a German bridgehead on 4 June 1940. It didn’t need much hardware, so it was an ideal one to kick things off with. While the rest of the BEF had slipped away at Dunkirk, the 51st were still with the French, south of the River Somme. Their job was to launch an attack on the German bridgehead over the south side of the river near Abbeville. Meanwhile the French would launch the main attack further to the east. The Highlanders’ job was to keep the Germans busy. So, Nick and I started with the a British attack on the German positions at Hedgehog Wood.
  The whole thing was about capturing the high ground at Caesar’s Camp, which dominated the countryside south of the river. This attack was a mere prelude, to secure the British flank for their main assault. Both sides had a platoon, with 12 points of support for the British, who were attacking, and 8 points for the German defenders. I’m a sucker for firepower, so I blew mine on off-table mortar support, an extra squad, and a 2″ mortar team.
 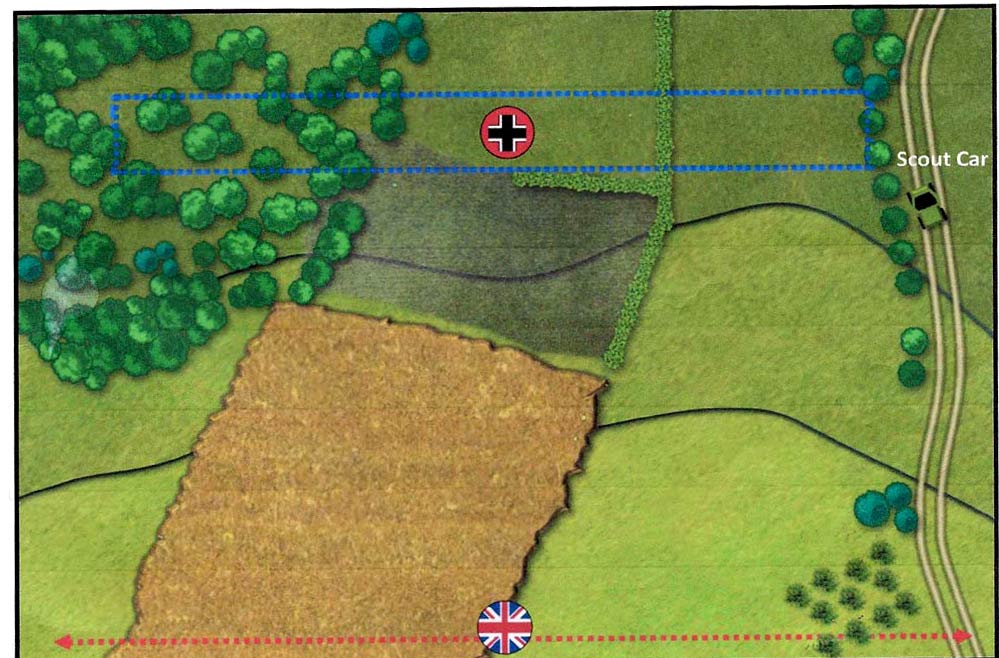 Nick it seems, went for a machine gun, a 75mm infantry gun and a sniper team. Then came the ‘Patrol Phase’. I opted to kick off by advancing up the track, which had the added bonus that there was a crashed Dingo Scout Car there, with plans that needed saving from the Germans. I managed that, and after some maneuvering we ended up with my people along the line of the track, with the Germans on the hedged fields to the west.
 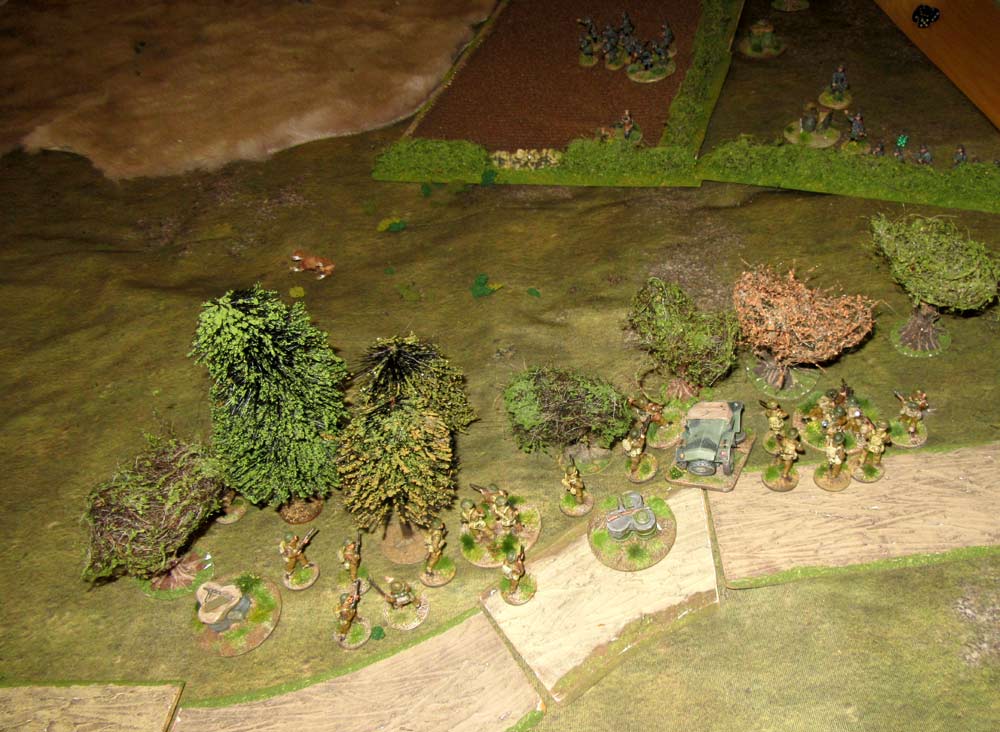 We both deployed fairly swiftly, and the Germans had more effective cover. So, I got my infantry sections into the fight early, to make the most of their firepower. Fortunately the Germans didn’t have great activation dice for the first coupe of turns, while I got a ‘Double 6’, which meant I could go twice in a row. With three British sections against one German ones it wasn’t a fair fight, and soon Nick found his squad was taking heavy casualties.
 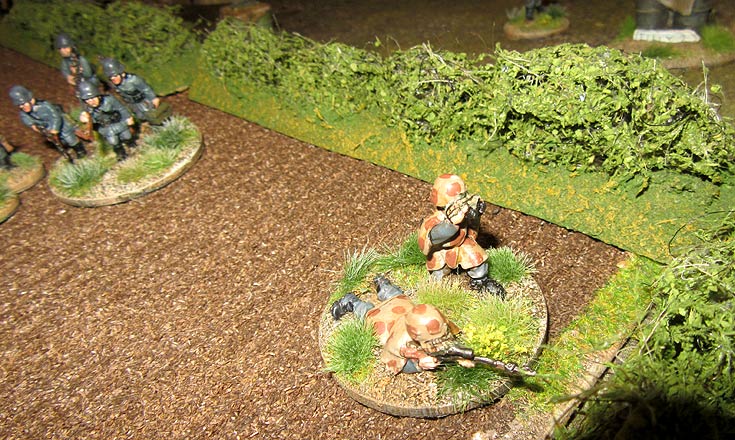 Nick had a sniper, who seemed to be utterly inept – he missed his target – one of my Corporals – for three turns in a row! Still, his second squad was moving into position, arriving just as the remnants of the first one was ‘double pinned’ and forced to retreat. So, I deployed my last squad down near the British edge of the table, just beside the track, where it did its best to suppress the newcomers, supported by my two 2″ mortars firing HE rounds.
  That’s unusual in its own right – I invariably use them to lay smoke. For this though, I needed their indirect fire to add to the German casualties. Nick’s response was to bring on his MG-34 medium machine gun, which had a game-changing firepower (10 x D6s). So, it became the new British target. I fired everything I could at it, killing two crew and causing three ‘hits’, which pinned it, reducing its firepower. So far so good.
 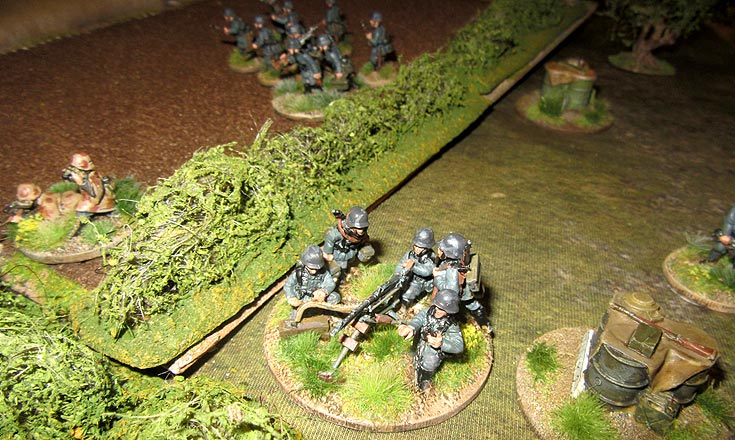 Its firepower though, was still deadly, and I began taking casualties of my own. To increase the pressure, the German sniper finally got his eye in, and winged one of my Corporals. I was thinking of laying smoke after all when a lucky string of die rolls from two of my infantry sections killed off the remainder of the MG-34’s crew. I also used a ‘CoC’ dice to end the turn, the only advantage being to make that first German section rout off the table.
 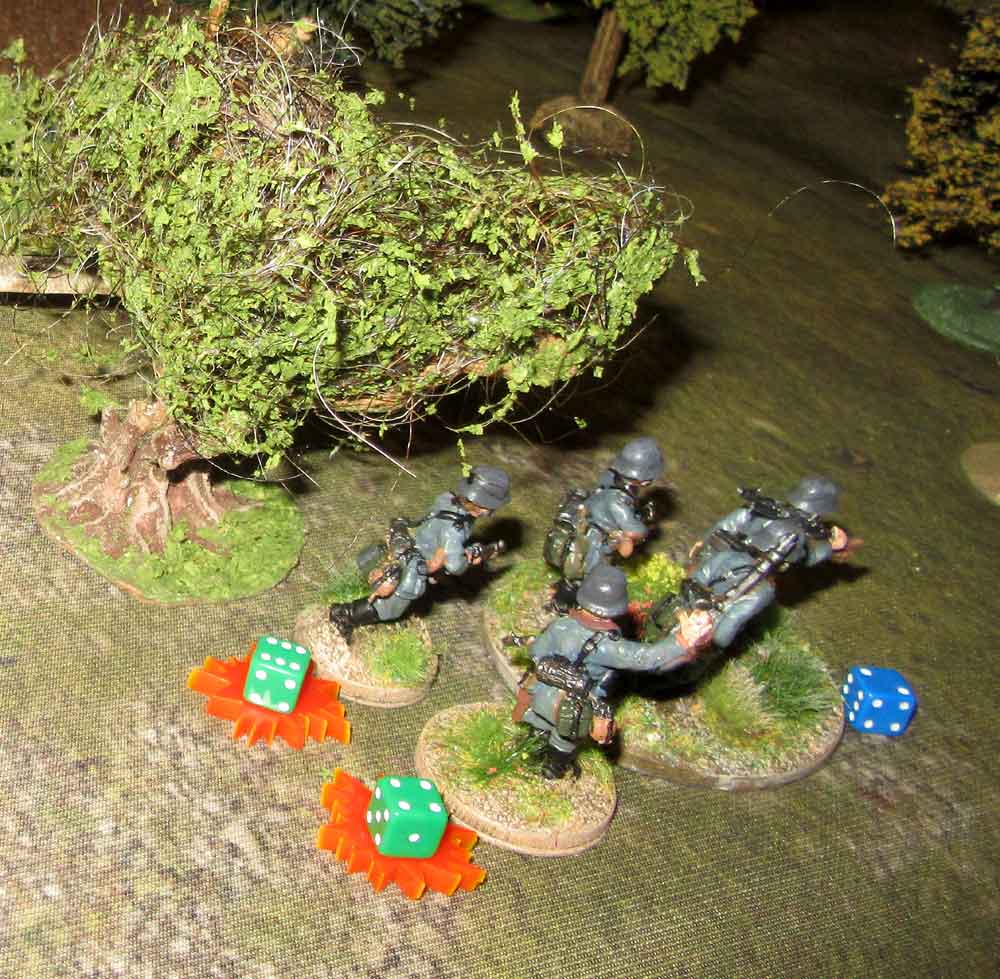 Still, those two losses meant a significant drop in morale for the German platoon. So, things were picking up. Finally, along with my platoon lieutenant – the last of my force to come on – I also deployed my Foo – my artillery observer, with a fixed phone link back to an off-table mortar battery. Once there, he began calling in a fire mission on the Germans in the ploughed field. Nick responded by deploying artillery of his own, an on-table 75mm infantry gun.
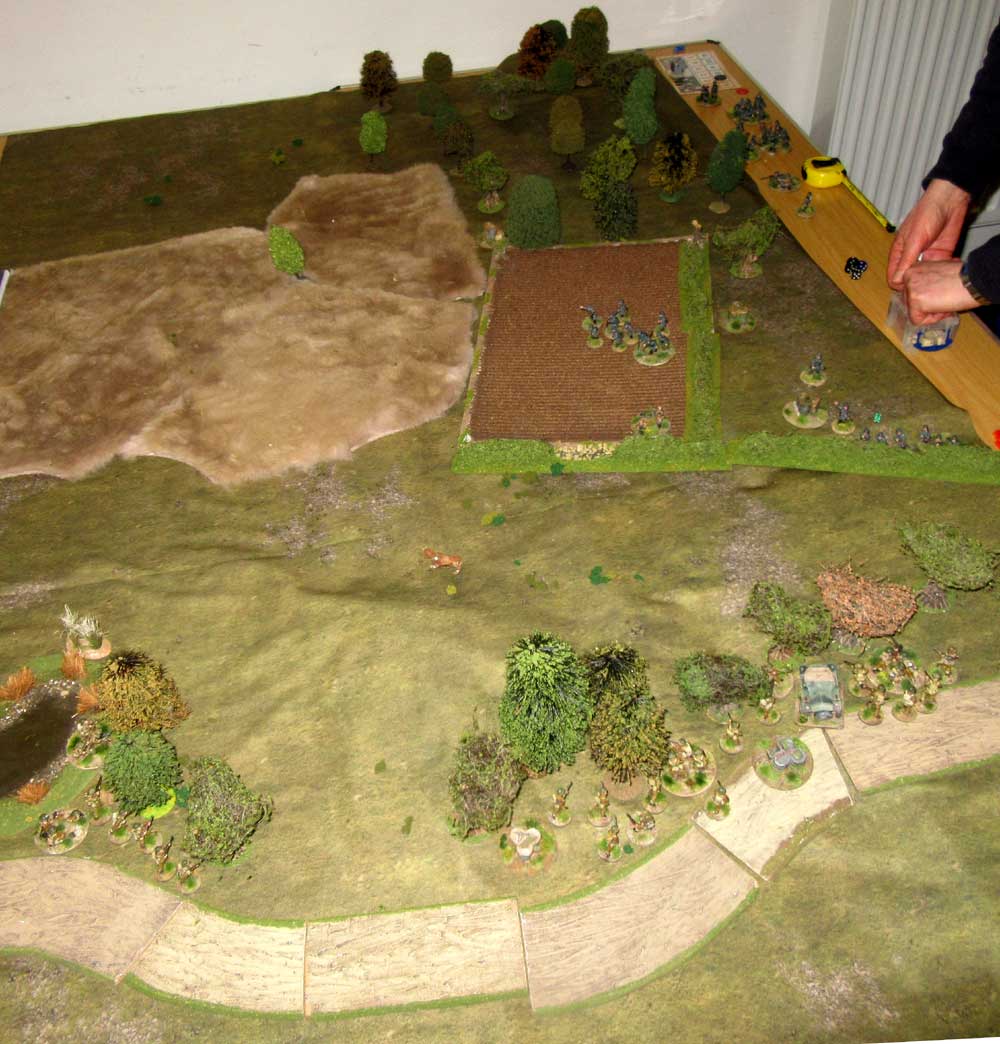 I wasn’t maneuvering much – I wanted to make firepower win the day for me. So, the firing continued, as the FOO kept on trying to call in his mortar barrage. The German infantry gun got the range, as did a third German squad, and together they caused four casualties. The German gun – an le IG 18 – got pummeled in reply by just about every rifle and Bren gun on the table. I managed to pin it, but it wits crew stayed at their posts, and kept firing.
 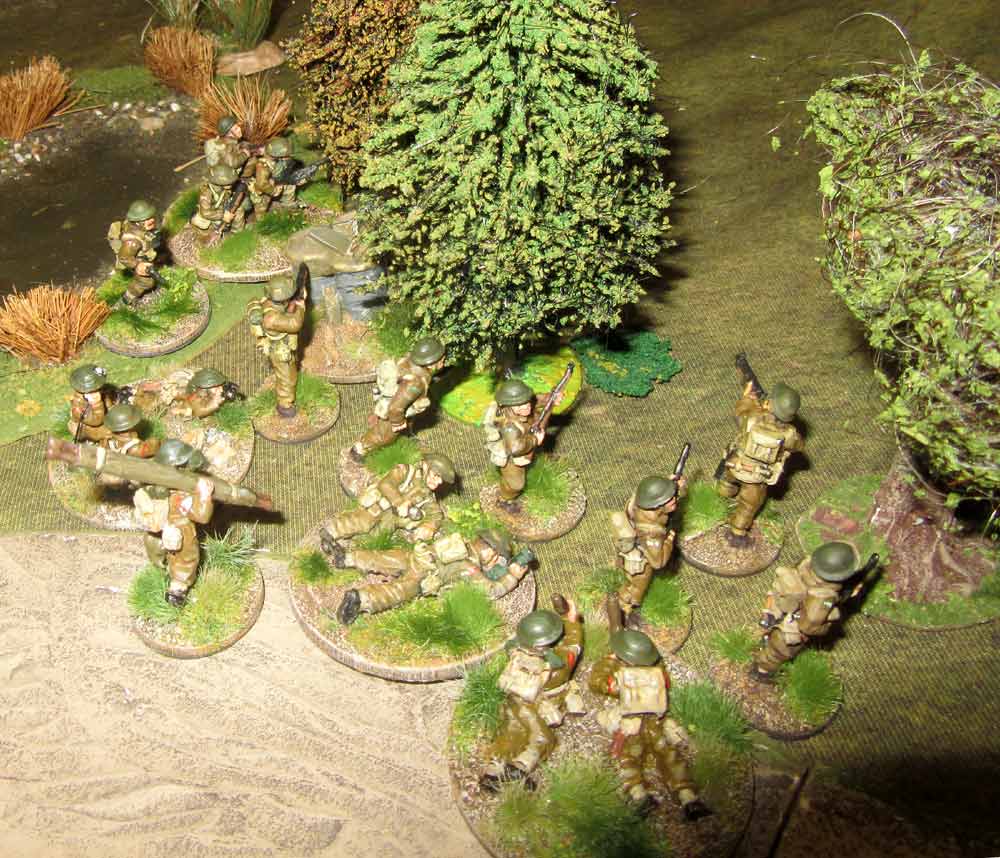 That was when my mortar barrage landed, plumb on top of the Germans in the ploughed field. the results were gratifying – at least for the Highlanders. these barraged pin everyone inside their ‘beaten zone’, and block line of sight. That’s when I got another ‘Double Six’, and a second turn of firing. As a result, the German infantry squad in the ploughed field was pretty much wiped out, and the sniper team was killed too. German morale plummeted.
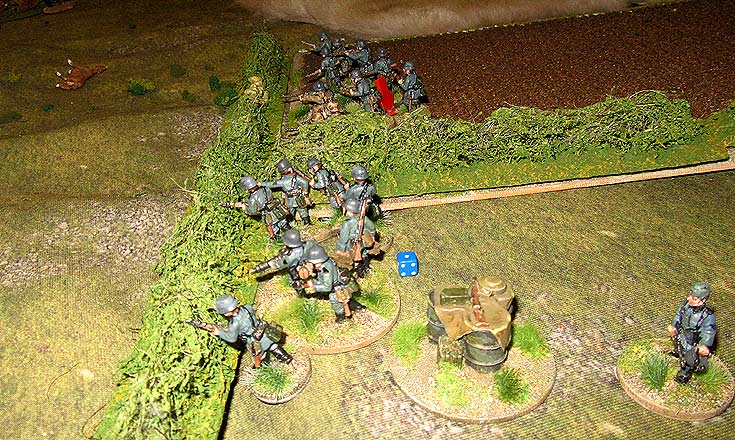 The barrage also put paid to the German infantry gun, and while the last German squad (that’s it above) was still in the fight, they were now outnumbered three to one. So, Nick wisely decided to bug out, to save the rest of his force. So, the first game of ‘Attack on Caesar’s Camp’ ended in a win for the Highlanders. Let’s hope this streak continues into the next game. Next time though, Nick will probably bring his lucky dice.
Excellent, as a Highlander myself I enjoyed reading that account. I wish that all of the St Vallery campaign went as well as that.
Yes, the campaign didn’t end too well for the Highlanders… and this ‘pint-sized’ campaign will probably end in disaster too. I just got lucky on the first game.