The Second Battle of Sirte, 1942
6th February 2025, 0 Comments
World War II Naval, General Quarters 3, 1/2400 scale
Nick from the club has just bought loads of 1/6000 scale WWII ship models. He wanted to try out General Quarters v3, as he’d last used the set back when it was v.1. So, I l staged this by way of an introduction to the rules. It’s based on the opening minutes of the Second Battle of Sirte, in March 1942. The British were there to protect a convoy below, heading from Alexandria to Malta, while the Italians planned to brush aside the escorts and sink it. 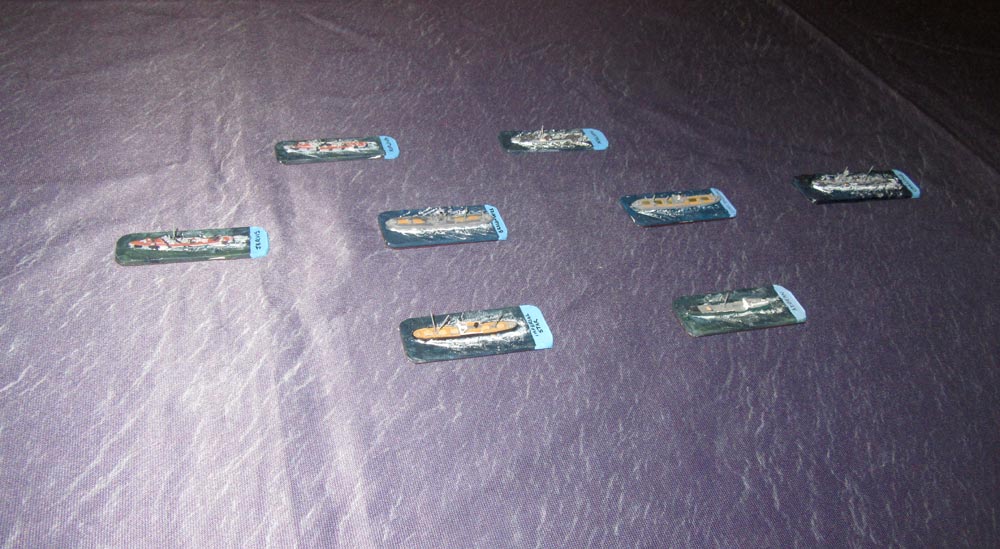 Although the Italian battleship Littorio was in the area, this initial clash was between cruisers and destroyers. the convoy was heading west, less than a day from Malta, and had been under air attack all day. We factored those air attacks out, as they didn’t achieve anything. Then, a little after 2.30pm, smoke was sighted to the north – which turned out to be three Italian cruisers (Gorizia, Trento and Bande Nere), supported by destroyers.
 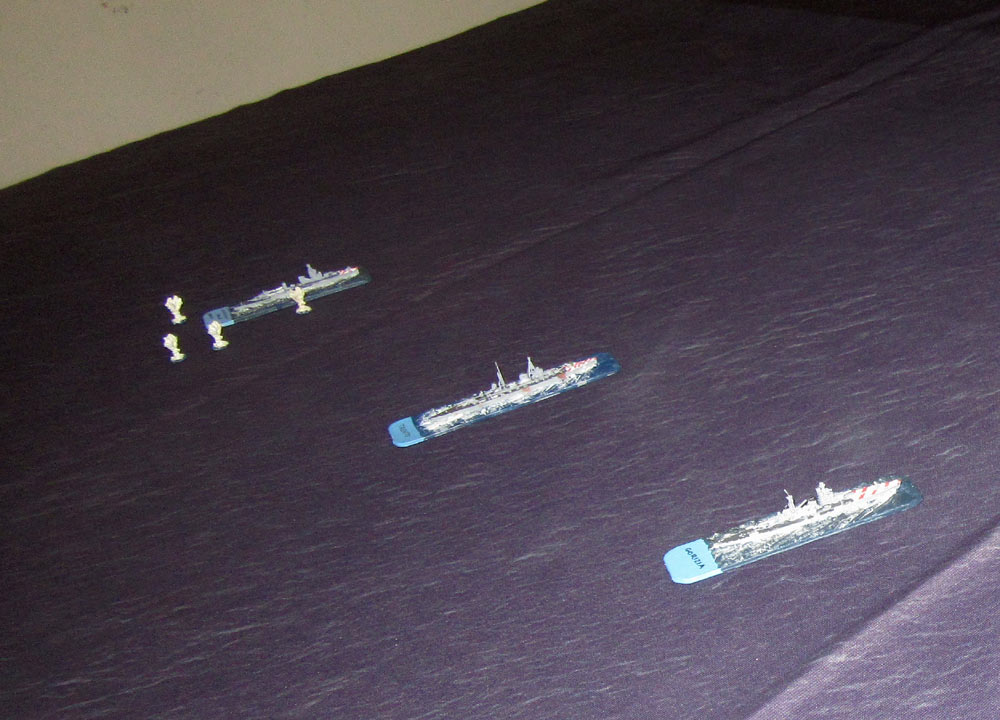 Visibility was poor in our game, so the two sides were just over six miles apart when the enemy were sited. Admiral Vian’s cruisers (led by Nick) turned north to close the range, while the Italians turned west into line, so all their guns could bear. Sean commanded the convoy and close escort, which was out of visibility range, so his convoy kept on heading west, leaving it up to Nick to counter the Italian threat.
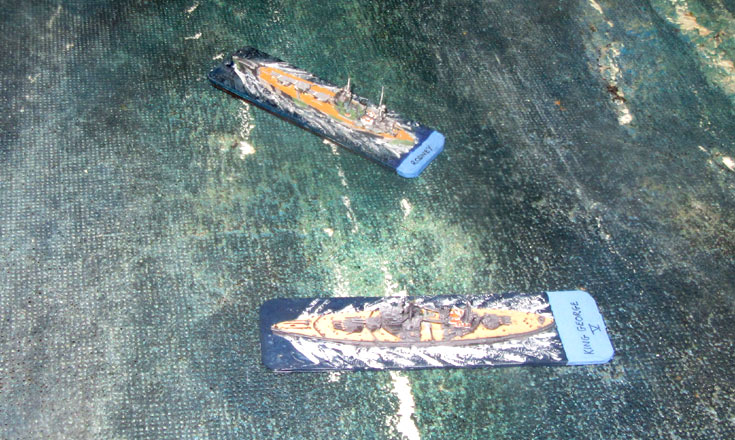
  Gunnery on both sides proved better than expected, with both the light cruiser Bande Nere and the British AA cruiser Cleopatra – Vian’s flagship – taking hits. In the picture up above, you’ll see the convoy continuing on track, while Cleopatra and her sister ship Euryalus are closing with the enemy, screened by four destroyers. Over on the left, the cruisers Jamaica (as I didn’t have the historic participant Dido) and Penelope followed Vian’s lead.
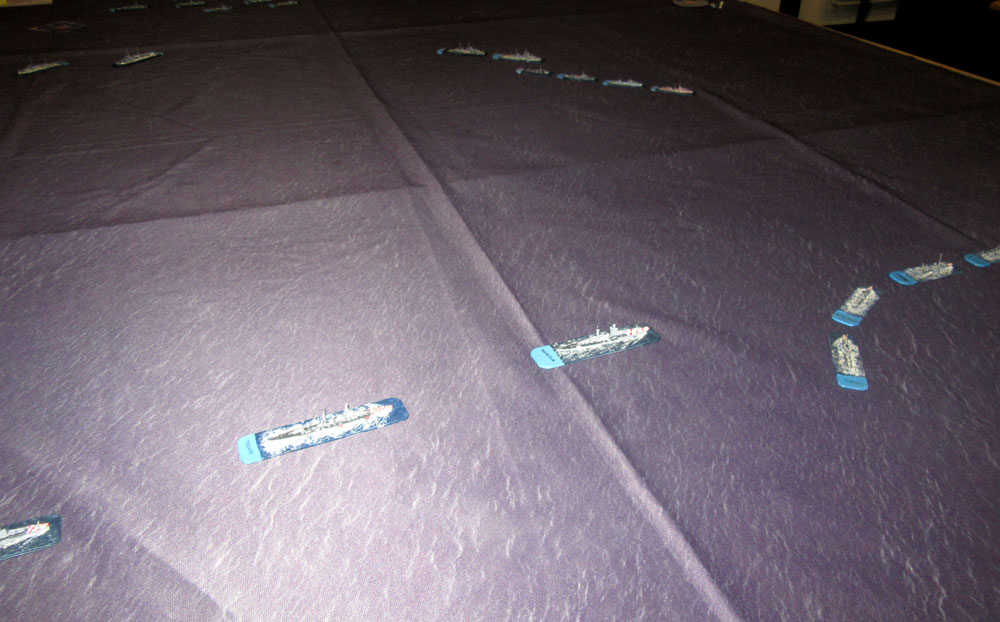 Once the Italians formed line the firing became heavier, and both sides began suffering, with hits to the Italian destroyers and to Trento and Bande Nere on one side, and the British destroyers and Euryalus on the other. The two sides were creeping closer too, with the range dropping to three miles (6,000 yards), and the British were still closing. I wanted to play this according to the real thing, so R. Adm. Parona had orders to keep his distance.
 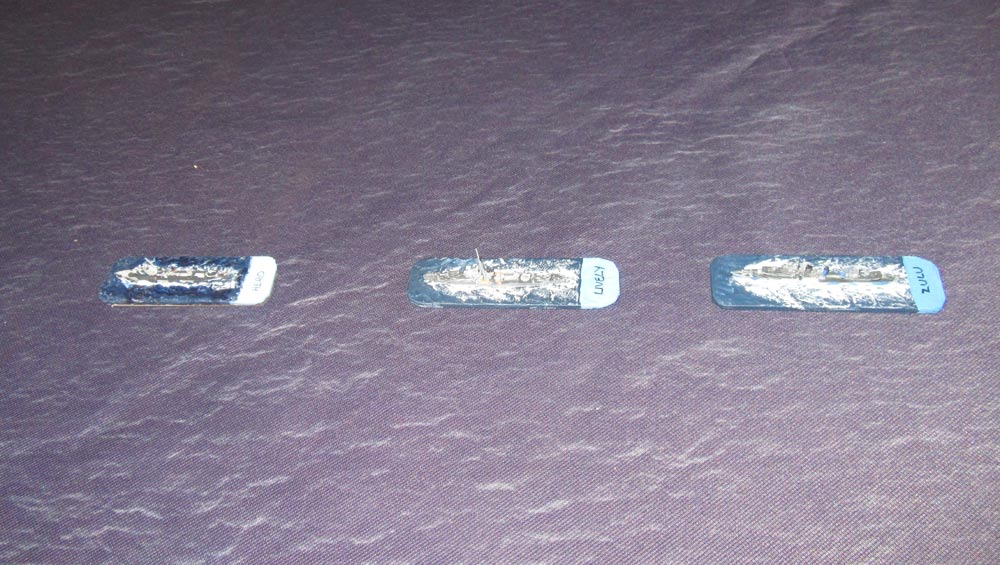 His job was to find the convoy, not fight the British ‘Covering Force’ of cruisers and destroyers. that job could be left to Littorio. Then, three things happened one after the other. First, I decided to turn my ships away, and ordered the destroyers to lay smoke to hid the cruisers as they made their withdrawal. At the same moment though, Nick’s four destroyers launched a salvo of torpedoes – 16 of them, which targeted the Italian cruisers.
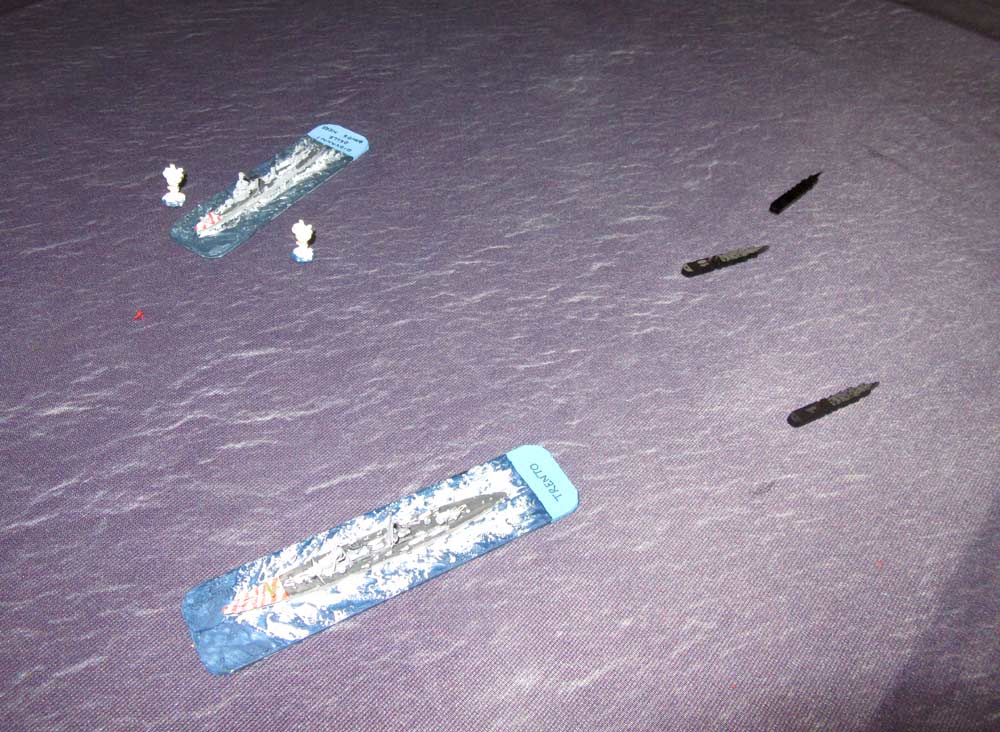 Fortunately for Gorizia, the heavy cruiser was already turning away. Bande Nere though, had just suffered a bridge hit, and couldn’t change course. The heavy cruiser Trento was also in the firing line, as although turning to avoid the approaching torpedoes, it was going to be close. On the plus side for the Italians, they had been firing at the British, and in that same turn Cleopatra and Euryalus were both hit repeatedly by 6-inch and 8-inch shells.
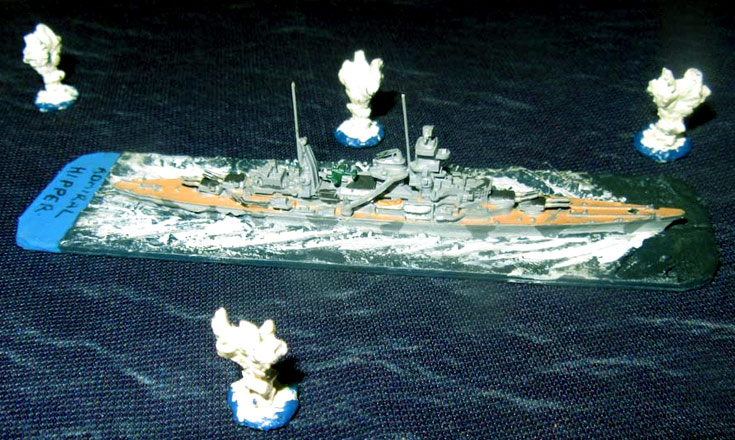
 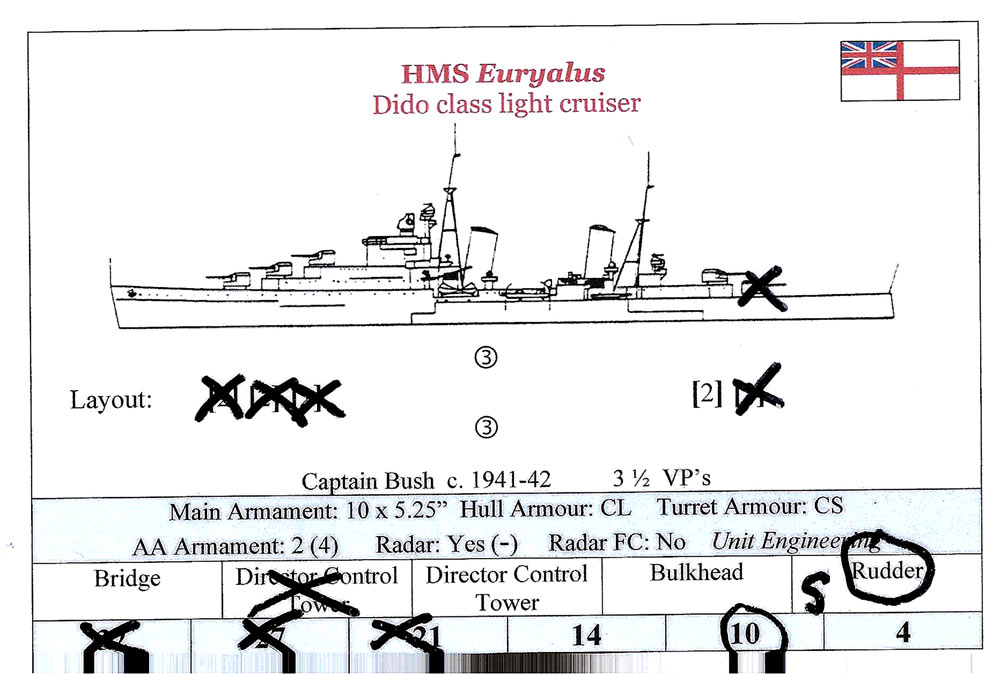 It all happened quickly. First, Cleopatra was on the verge of sinking, and lost power. Euryalus though, was unable to get out of the way, and with a jammed rudder the cruiser crashed straight into Vian’s flagship. Cleopatra was cleaved in two, and Euryalus was badly damaged (that’s her ship card above), but was still just about functioning. There was little time to celebrate though, for the Italians, as those torpedoes were still coming!
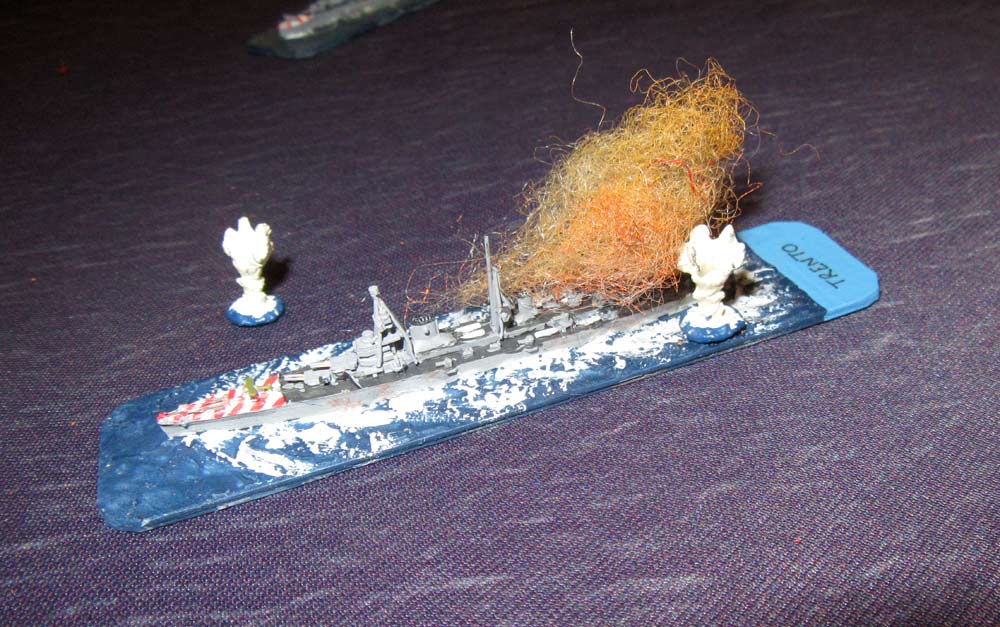 The Bande Nere was lucky – all four torpedoes heading for her missed the Italian light cruiser by a few yards. Trento though, was less fortunate, and two struck her port quarter, just at the stern, and all but blew it off. The cruiser was just about able to limp away, but both she and Bande Nere were almost completely crippled. Mind you, so too was Euryalus, which only had one turret left, a jammed rudder, and speed was down to just 10 knots.
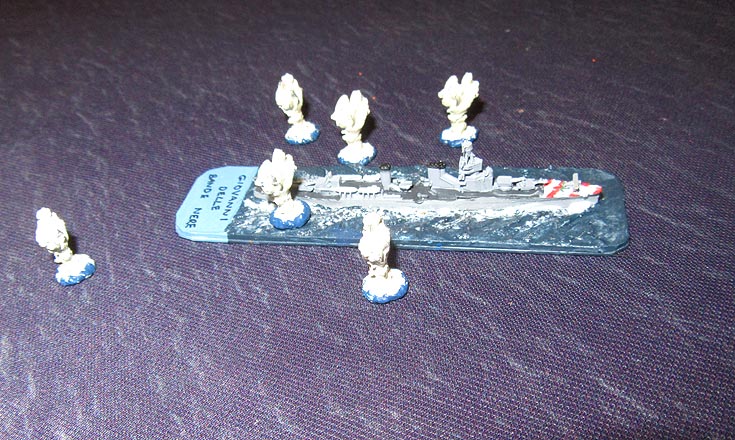
 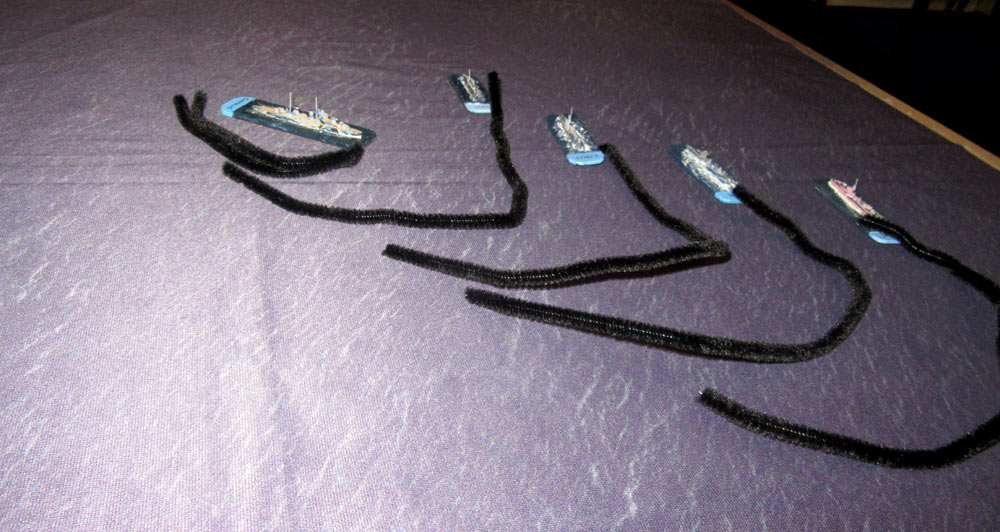 At that point the British destroyers turned away, making smoke (above), while their Italian counterparts limped off the northern table edge. The two Italian cruisers were still firing and being fired at, but would limp of the table unless Nick could hit them with something. Trento finally made it to safety, but in the last roll of the dice a shell from Euralus’ one remaining turret hit the Bande Nere, and the Italian cruiser, now ‘out of hull boxes’, began to sink.
 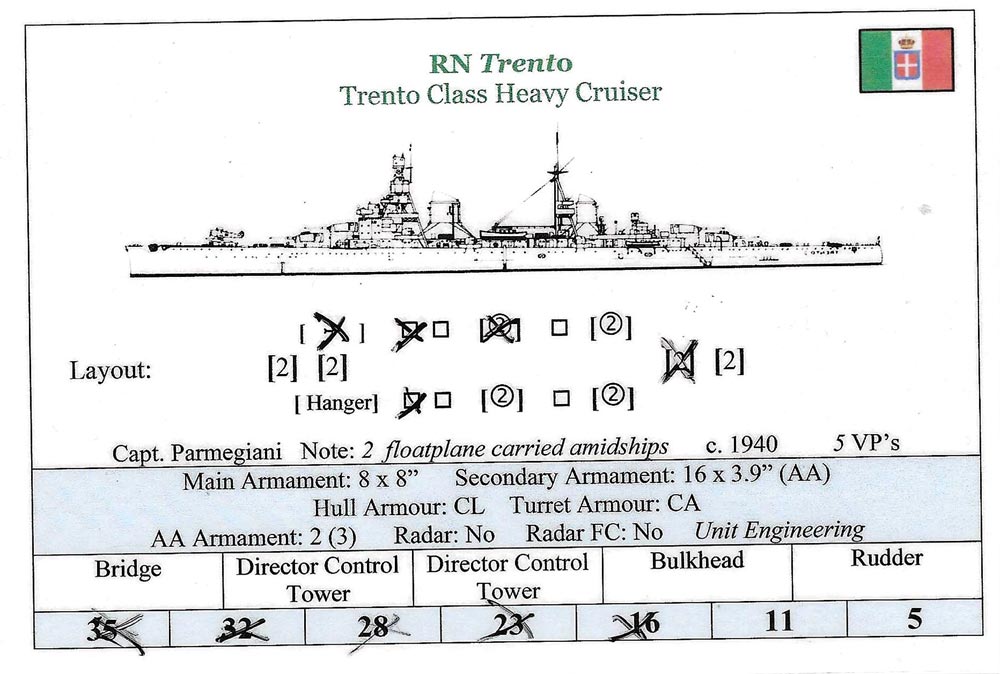 When the two sides broke contact it was clear that Trento had been lucky – limping off the table to safety, when one or two more hits would probably have sunk her. the Italian destroyer Artigliere was in the same boat as it were – and left battered and limping. British losses were one AA cruiser (Cleopatra), and several ships damaged, while the Italians lost the Bande Nere. However, the convoy was saved, so the game was declared a hard-fought British win.
 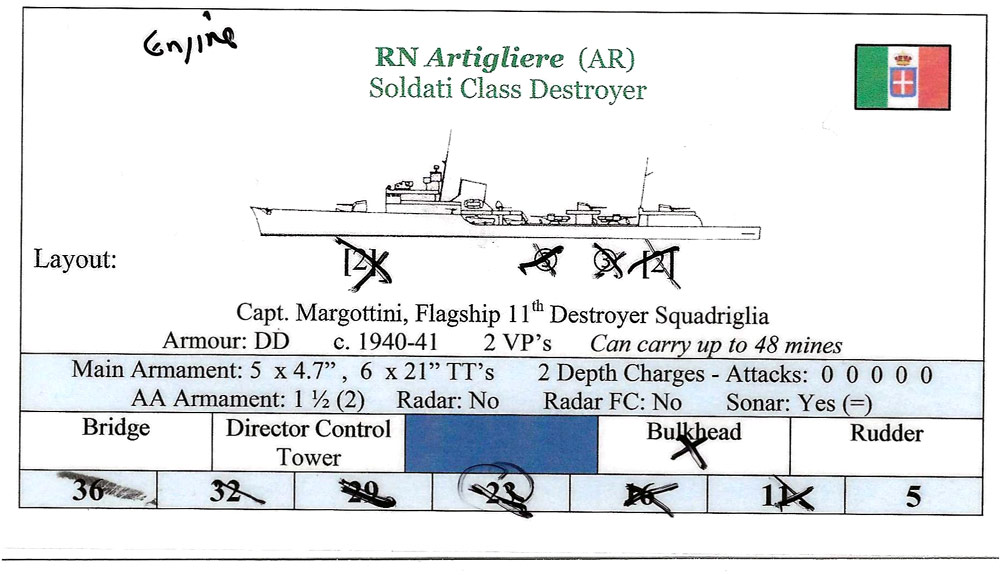 It was fun though, and could have gone either way. Next time, we’ll play the second phase of the battle, when the British have to face the mighty Littorio!